Experimenting with MCP using GitHub Copilot
Experimenting with MCP using GitHub Copilot
Overview
This article describes how to install the "Copilot MCP" extension in VS Code and use GitHub Copilot with MCP to fetch information from GitHub for testing purposes.
Note: Since the official GitHub Copilot implementation also seems to support MCP, this extension might become unnecessary once the feature is released.
Test Environment
- Windows 10 Pro
- VS Code
Preparation
Please ensure the following in advance:
- Install node.js
- The
npmandnpxcommands must be available
- The
- Create a GitHub account
Installing the MCP Server
Install the GitHub MCP server via npm.
Note: If you have already installed the MCP server for use with other MCP-compatible tools like Cursor, this step is not required.
Run the following command in your terminal:
npm install @modelcontextprotocol/server-githubGenerating a GitHub Personal Access Token
Access https://github.co.jp/ and sign in.
Navigate to [Settings] -> [Developer Settings]
-> Personal access token -> Tokens (classic) -> Generate new token -> Generate new token
- In the
Notefield, enter an identifier for the token. - No checkboxes need to be selected.
- Click the [Generate token] button.
If your settings are correct, a token will be generated. Make sure to record the token as it will be used later.
Note: The token cannot be viewed again after this. However, you can generate a new one if needed.
Installing the "Copilot MCP" Extension
Install the "Copilot MCP" extension in VS Code.
https://marketplace.visualstudio.com/items/?itemName=AutomataLabs.copilot-mcp
Configuring MCP
After installing the extension, an icon resembling a server will appear in the VS Code activity bar.
Click on that icon.
Upon clicking, the "MCP Server Manager" window will open.
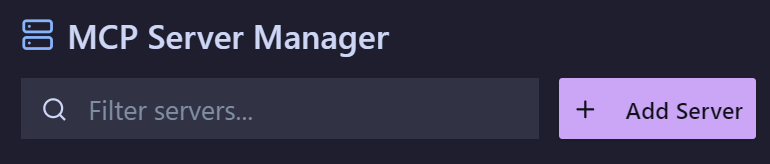
Click the [+ Add Server] button to reveal the configuration fields.
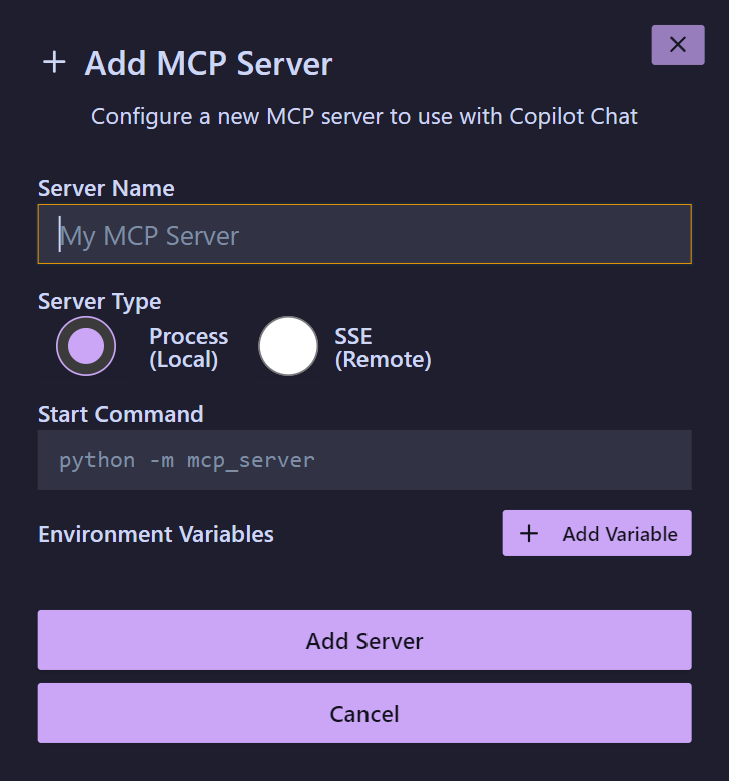
Fill in the following:
- Server Name: Enter any preferred name.
- Server Type: Remains as
Process (Local). - Start Command:
npx -y @modelcontextprotocol/server-github
Click the [+ Add Variable] button to add the following field:
- KEY: GITHUB_PERSONAL_ACCESS_TOKEN
- value: The token generated from GitHub
After completing all the inputs, click the [Add Server] button.
If the connection to the MCP server is successful, you will see the following message:
If the connection fails (or is not recognized), nothing will be displayed.
Note: Even with the correct configuration, recognition can sometimes be intermittent.
Testing in COPILOT Chat
In the chat input, prefix your message with @mcp to use MCP.
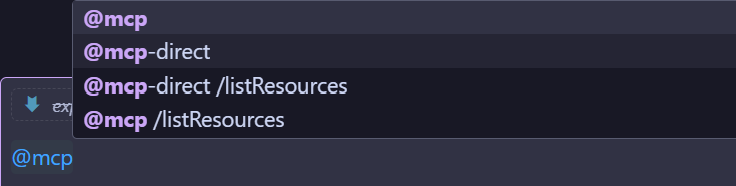
For example, try asking:@mcp Tell me the most popular repositories
You will receive a response similar to the following:
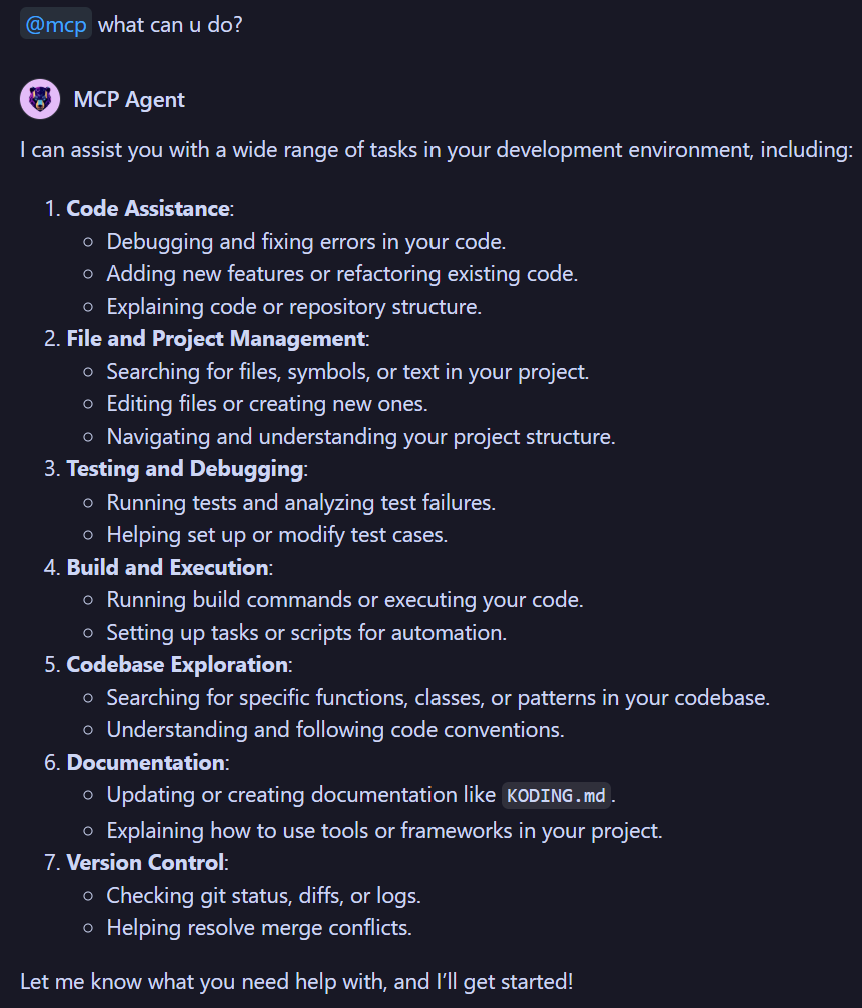
This indicates that MCP successfully provided an answer!